


CryptoHelp offers two different roles, the client and the fund manager.
The fund manager and the client can connect by creating and entering an agreement made using a smart contract. This section will discuss the usage of each feature provided by CryptoHelp.
An agreement is a contract made by fund managers on CryptoHelp to offer their services to the clients. A fund manager can create an agreement by specifying their target return rate, collateral rate, and duration. It will act as an immutable contract to hold, trade, and transfer funds throughout the contract duration.
Meanwhile, the client can enter an agreement made by the fund manager to entrust their investment to the fund managers according to their specified risk profile.
Check out our video below to help you get started on using CryptoHelp.
Once you access our application, you will be greeted with agreements made by fund managers.
You can browse through them but you will not be able to enter any agreement before creating and logging into your account.

There are two methods to create an account on CryptoHelp (click on the creation button). You can create an account through Magic by using your email address or you can also connect an existing Metamask account.

The first method is to create an account using Magic.
You can create or access your Magic account by simply submitting your email address in the required field. An automated message will be sent to your email. Inside, you will see a verification link to verify access to your account.
In exchange for using a password, all login attempts using Magic will always go through this process before the request is granted. This holds true whether you are creating a new account or accessing an existing one.
The second method is to log in using Metamask.
We have integrated Metamask into our application, allowing you to connect your Metamask wallet to be used on the platform.
You can do this by choosing the Metamask option in the “Connect a Wallet” button.
There are three different responses of the button:
Now you’re logged in to CryptoHelp!
You can click on your wallet address to see the details of your account. Aside from finding your wallet address, you can confirm the type of account you’re using (Magic/Metamask) and your current network here.
Pay attention to the status of the network inside CryptoHelp.
By default, your Metamask account should be connected to the Ethereum Mainnet.
However, to use the current version of CryptoHelp, you will need to connect to the Rinkeby test network, where you can try out the different features of our platform for free. This means that you will need to change the network settings of your Metamask wallet to the Rinkeby test network.
Click open your Metamask extension, open its network settings, and choose the Rinkeby test network.
You can see a demonstration of this in the "Getting Started" video above.
Aside from the Rinkeby test network, you can also connect to the Binance Smart Chain (BSC).
CryptoHelp has made this easy for you. All you need to do is go to the network selection feature on CryptoHelp and choose “Binance Smart Chain - Test Network”. This action will open an authorization prompt on Metamask to allow access to the BSC test network. Click “Approve” to proceed.
You can also use this selection feature to change between the Rinkeby test network and BSC test network.
The current version of CryptoHelp only works on the Rinkeby test network and the BSC test network. It is a network used to test the features of the application without spending real money on it.
You can top up the balance of your account for test Ether and Test USDT.
Due to the nature of the faucet, a Metamask account is required to top up the balance. This is required whether you’re currently logged in using your Magic account or Metamask account.
However, this limitation will not be present in the launch of our application on the Mainnet.
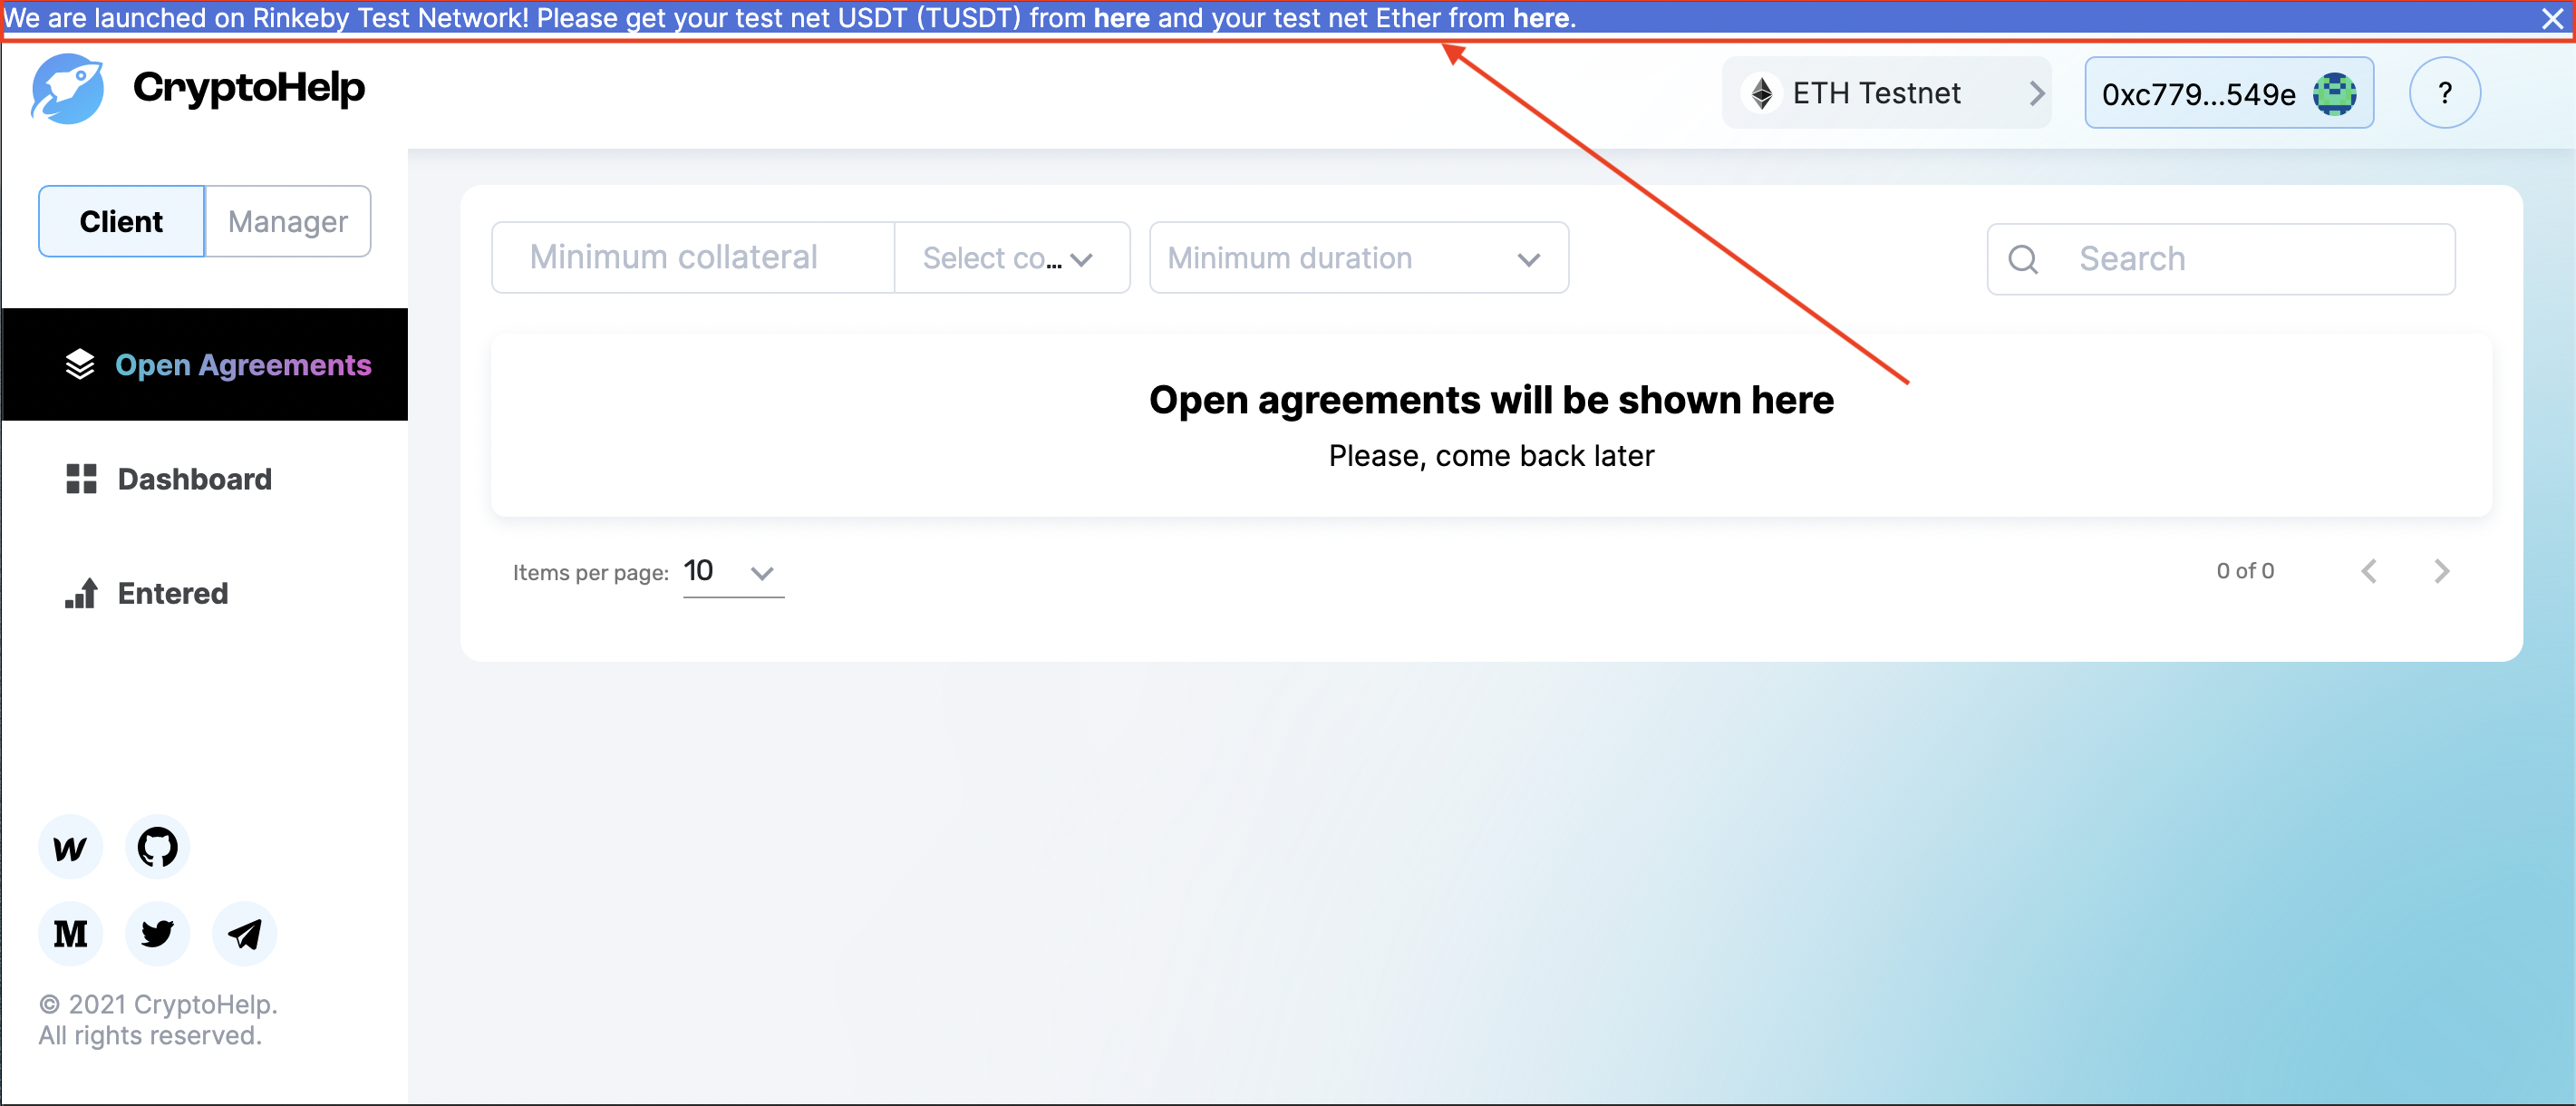
You can find the link to the faucets on the small banner at the top of our application. Click any of them to be redirected to the external faucet.
The first faucet is the T USDT Faucet.
Click on the link to the Test USDT (T USDT) Faucet. You will be redirected to a sub-domain by Github, where you can top up T USDT for free. The top-up process is relatively simple.
You can go to your Metamask wallet to copy your address and paste it in the required fields or you can simply click on the “Self” button to automatically generate your wallet’s address.
Fill in the number of tokens you want to top-up and click “Mint Token”. I recommend starting with 1000 T-USDT.
Regardless of the method and amount of tokens, make sure to double-check the wallet address and top-up amount before confirming the action.
The second faucet is the Test Ether faucet.
Click on the link to the Test Ether Faucet, the Rinkeby Authenticated Faucet.
The process to acquire test Ether is more complicated here. You can read through the explanation written at the bottom of the website for more details.
To request test Ether, you will need to create a post on your Twitter or Facebook account that contains your wallet address, in this case, your Metamask wallet address.
This is the steps if you use a Twitter post to request the test Ether.
You can see a demonstration for this by watching the "Getting Started" video above.


.svg)


